

Today we thought we would show you how to make an awesome stuffed rabbit!
I made this for my studio wall, but they also make great pin cushions... if you don't mind sticking pins into a rabbits head! They are also great door hangers and lovely little gifts, and you can make them with any good silhouette shape. Want to know how to make your own? Here we go...

First up, draw a silhouette of your favorite animal. I love a good bunny and thought that every studio needs an animal head on their wall! Cut it out of the paper leaving a little rim all the way around it for guidance.

Then choose your fabric!
I've decided to use a couple of old scraps of material, a floral one for the front and a plain one for the back. You can use two of the same pieces of fabric if you prefer, but this way gives a lovely option when you're done.

Pin your illustration to the fabric and cut it out. Bear in mind that you will be sewing this inside out, so make sure you cut it out correctly...

For instance, I would like quite a specific part of the floral pattern on my bunny, so I have cut it out the right way, un-pinned it and pinned the two fabric pieces together with the patterns on the inside for sewing. Always remember to pin back to back (or front to front if you are that way inclined!)

Using your paper illustration for guidance, stitch the two pieces of fabric together to make the rabbit head. This can be done by a sewing machine if you are some kind of wizard, or by hand like the rest of us :) Leave a couple of centimeters gap at the bottom of your new 'rabbit pocket' so you can flip it inside out through the hole. This magic way of doing things will hide all those loose threads. Lovely!

Here we go!
Now our rabbit is the right way around again, we can get to stuffing it and making all plush and lush...

We used good ol' polyester toy stuffing for our rabbit, which can be picked up at good craft and fabric shops. If you would like, you can also add in some lavender to make an adorable scented rabbit for your lingerie drawer. So many great uses for this project!
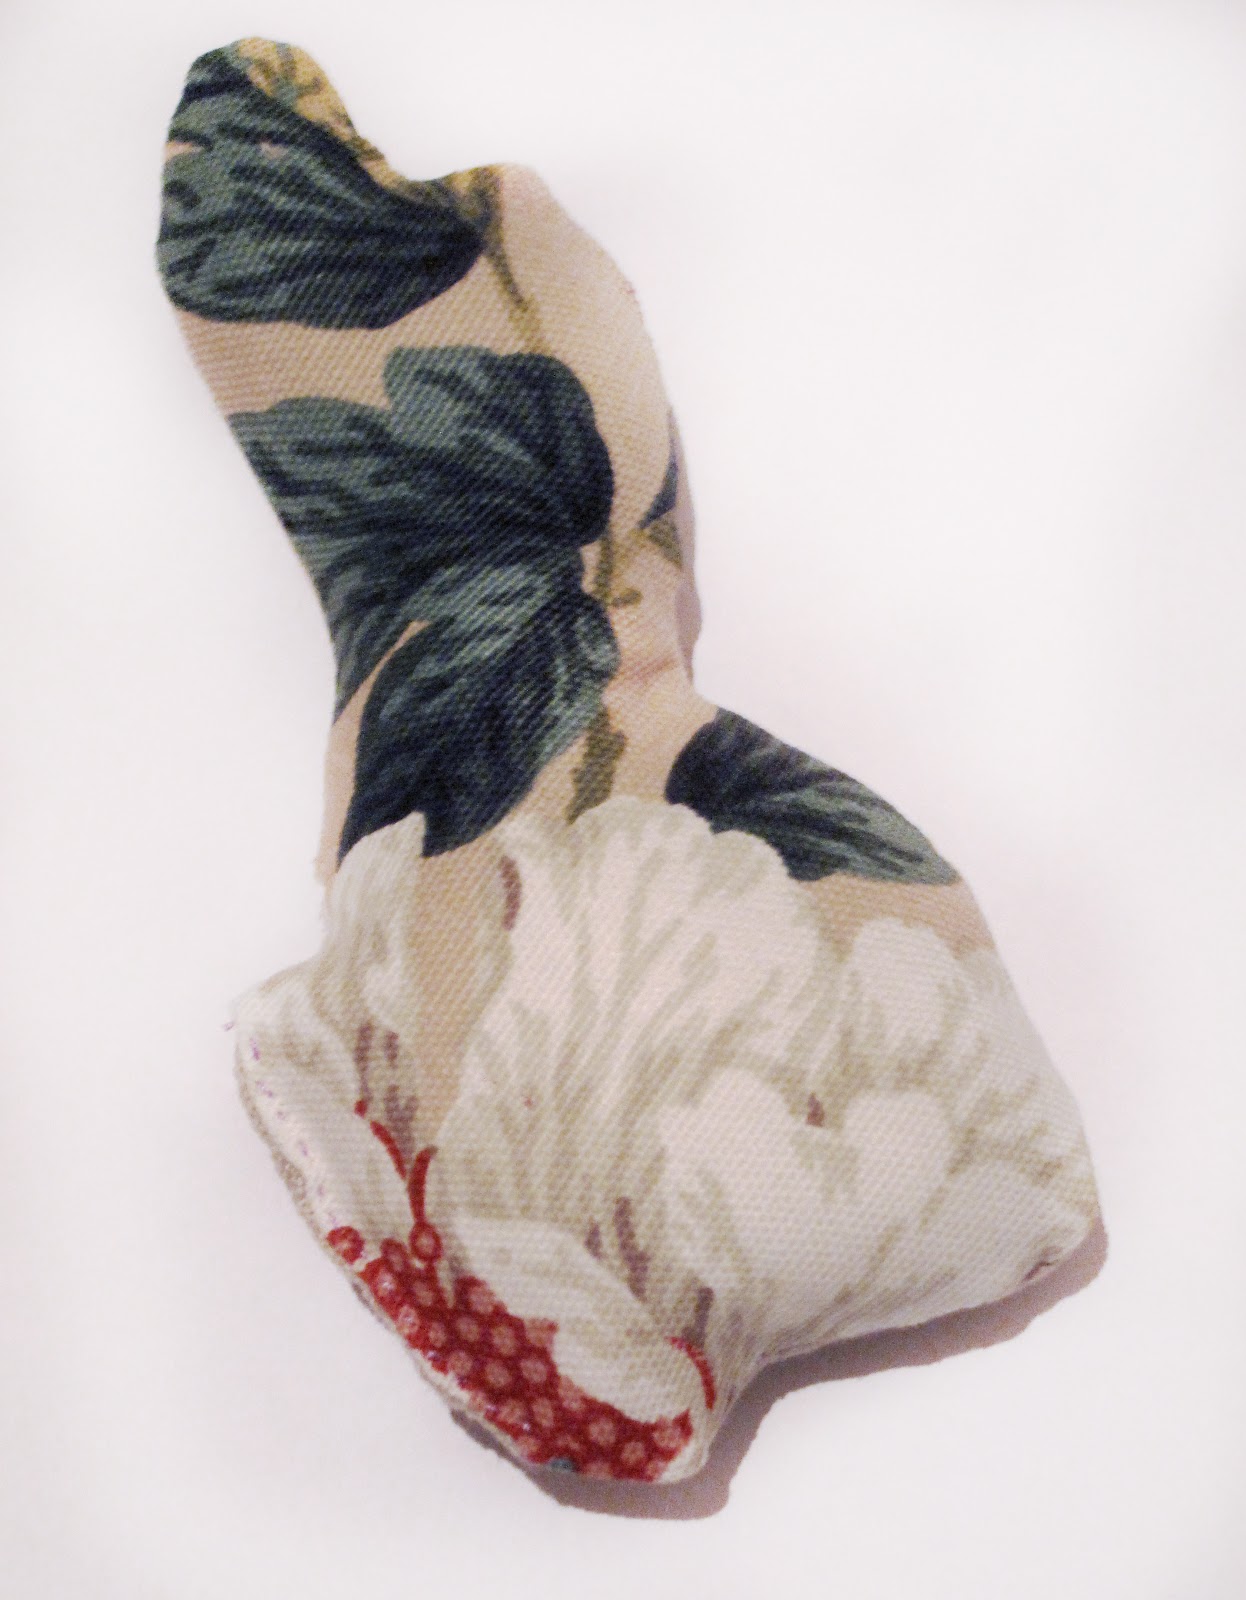
Once you have filled up your rabbit until it is really full and fluffy, you are ready to finish!
Carefully hand stitch the small gap at the bottom closed and you are all done. Brilliant, right? Give yourself a pat on the back, you have just made an incredible plush bunny!
You can easily stitch in a little looped piece of thread at the top for hanging and add a couple of lovely little embellishments to finish, like a cute little button for an eye :)
Adorable!
We'd love to hear what you think of this tutorial and what other animals you would love to try!
Happy Making x

That's cute! My daughter would love me to make her one of these.
ReplyDeleteThat's lovely to hear! Thanks Greenstar :D good luck!
DeleteGreat tutorial! And super cute plush for a pin cushion. I like how you used the measuring tape as a bow-tie!
ReplyDeleteExactly Amy :D
DeleteThanks for commenting - we plan to make a lot more of these. Super easy and a lot of fun :)
Enjoy!
How gorgeous, this is excellent. Thank you for posting it and the instructions, looks fun to make. The last thing I made was a purse using the same technique, this was back in school and I thoroughly enjoyed it. Lovely blog, glad that I stopped by. Looks like your shop is already in my favorites, so happy to be here. :)
ReplyDeleteHello Anna!
DeleteThanks so much for the lovely comments on our little rabbit and blog :D we're glad to hear it brought back some happy memories too! Just goes to show that sometimes the simplest ideas are the best :) We hope you have lots of fun making your own and enjoy reading our blog now you're here :D
Enjoy!
That's adorable! I need to find that cute ribbon too. Thanks for sharing!
ReplyDeleteThanks Sheryl!
DeleteIf you're feeling bold you may be able to draw it onto some yellow ribbon yourself :)
Good luck
Very cute Rabbit! Love the addition of the bow and the fun floral fabric. Thanks for sharing :)
ReplyDeleteThanks Sampson & Lorrie! We're pleased you're a fan :D
DeleteIs very easy to make , I will try to gift to my Dad.. Regards
ReplyDeleteThanks Celine! We love that you're going to make one for your Dad :D Good luck!
Delete